
Simple Tote Bag

You will need:
one fabric placemat
sturdy grosgrain ribbon
felt (optional)
fusible interfacing (optional)
letter template (optional)
I started out by printing an outline of the letter I wanted to applique on each bag. You could use a stencil or even free hand this.


Now trace your letter onto your interfacing then iron on to your felt and cut it out.
If you want to save yourself a lot of hassle, iron on your letter to your placemat before you sew your sides to make the bag. Just make sure to fold your mat in half to see the front side and position your letter at least an inch and a half from the side and bottom. Optional step: Sew around your letter with a straight stitch onto the placemat after ironing in place.

Now, you can sew the sides of your bag. Fold the placemat in half, with the right sides together, and sew up both sides with a straight stitch. I went in about an inch on each sides to avoid sewing through the extra layers of the placemat near the edge.

Now, with your bag still inside out, pinch the bottom corners of the bag and pin them. This will make a triangle. You are going to sew across the corners of the triangle you just made about one inch from the corner to make the bottom of your bag. I try and line up the fold of the bag bottom with the straight seam that I created to keep this corner stitch straight. Turn your bag right sides out. Almost done.


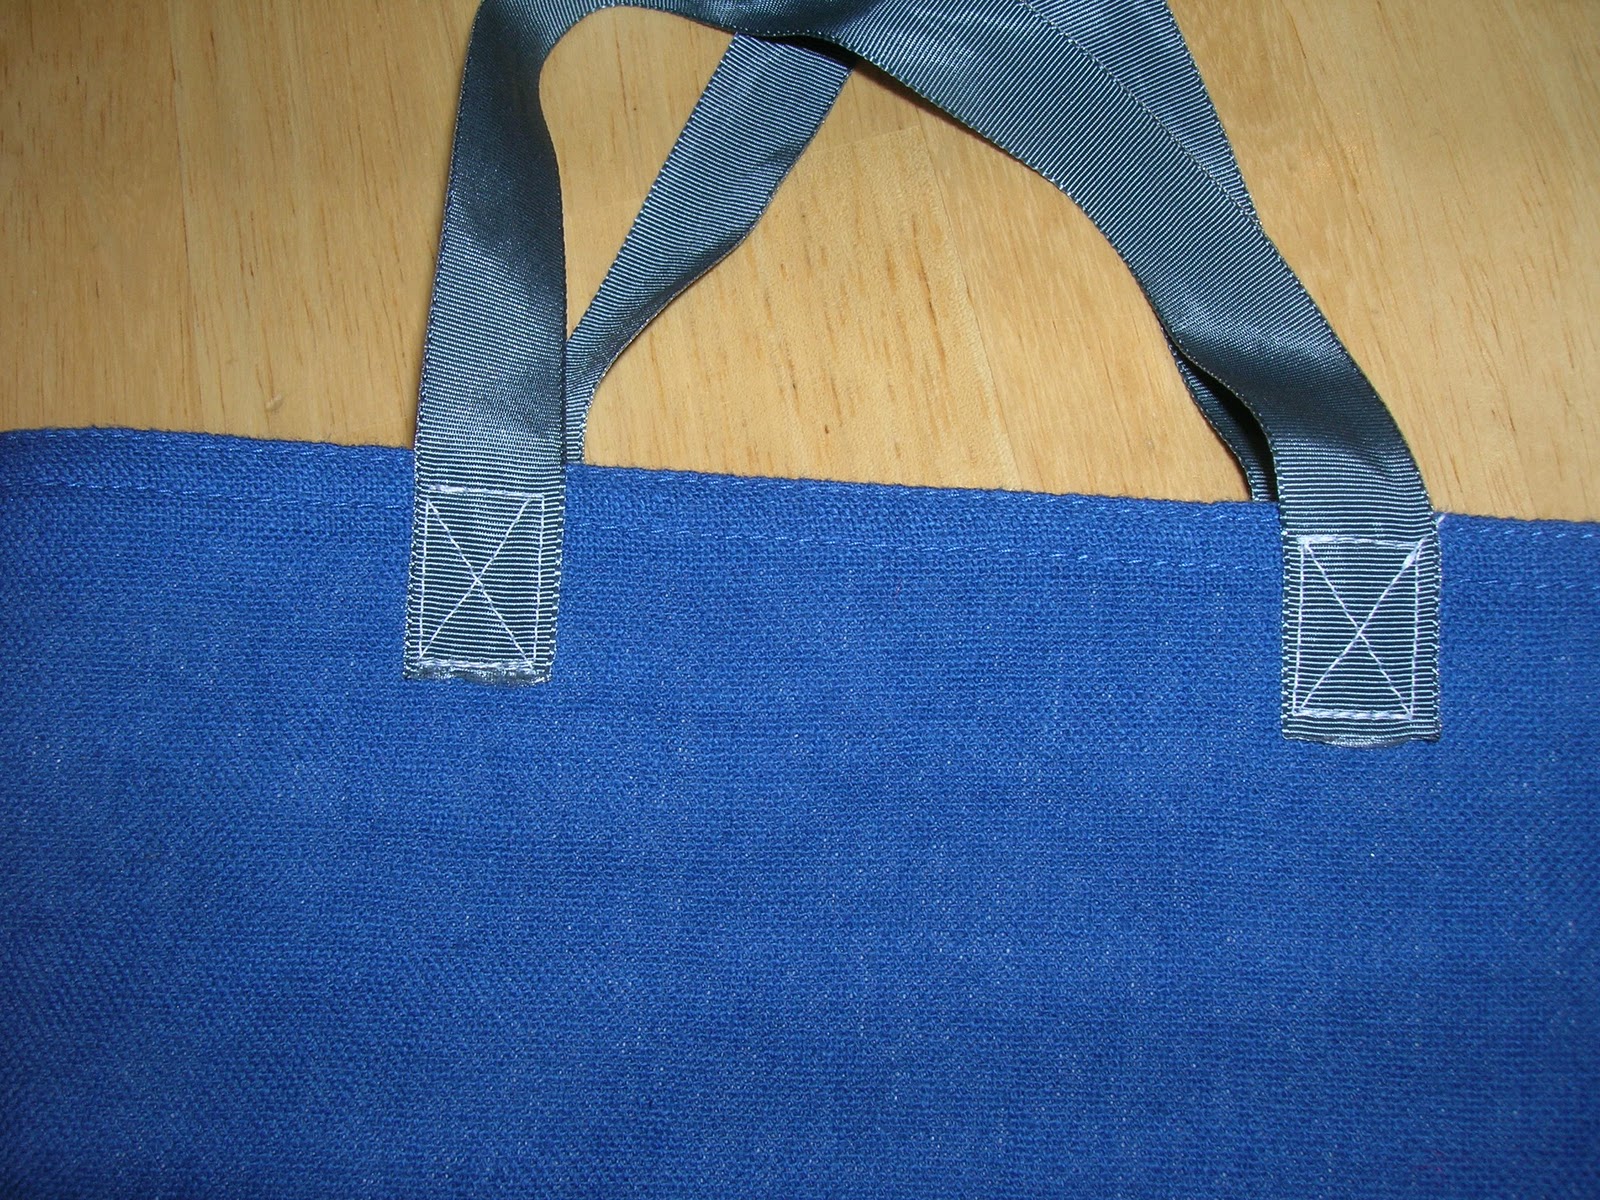
Now grab your ribbon and cut two equal lenghts to make your bag handles. Heat seal your ribbon ends with a lighter or match (this will keep your ribbon from fraying), or use some fray check on the ends. Find the middle of your bag and pin your ribbon equal distances from the middle to the top of your bag. I pinned my ribbon ends just under two inches from the middle on each side and about one inch down. Then, sew the ribbon ends onto the outside of your bag, making a square and then an "x" in the middle to secure them. Repeat process for the back of the bag.
And that's it! You have a cute little tote for your tot to carry a Bible and/or a Book of Mormon to church, for books in the car, or just to put treasures in. Easy Peasy!

you never cease to amaze ;)
ReplyDelete